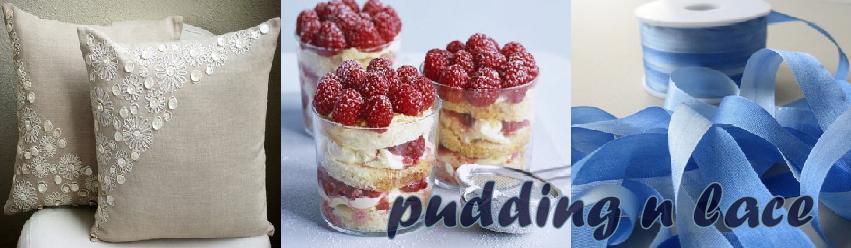
 Loving the colours and grouping of
this series of photographs. The way they are formatted around the corners
remind me of drink coasters.
Loving the colours and grouping of
this series of photographs. The way they are formatted around the corners
remind me of drink coasters.
Making your own drink coasters is not difficult to
do. First, decide on your images. They should be ones that work well as square
shapes, since the coaster itself will be square. Then, gather the following:
- good quality paper. This doesn't have to be photo paper, but it should be colour fast and sturdier than regular every day printing paper. Opt for a matte finish though instead of a glossy one (unless you want super glossy coasters).
- Modge Podge for outdoors. This is specifically made for moisture, which drink coasters tend to attract.
- foam brushes for spreading on the Modge Podge.
- spray adhesive. This is optional, but if you spray the tiles first and press the photos on before applying the Modge Podge, they stay in place better.
- spray sealant. Again, this is optional. Modge Podge for outdoors has a built in sealant, but it doesn’t hurt to give them an extra coat. I use a matte finish, and it helps cut down the sheen that Modge Podge sometimes leaves behind when it dries.
- square tiles from a home improvement store. Home Depot, Rona and Lowe’s are have a good section of square tiles. The best ones I’ve used are a non-glazed, porous stone tile. I find they absorb more of the Modge Podge and sealant.
- fuzzy feet. Okay, they’re not really called fuzzy feet. They’re those little fuzzy felt sticky things you peel and stick on the inside of your cupboard doors so that they close softly, or on the bottom of a jewelry box so that it doesn’t scratch the top of the dresser. They also come in clear acrylic.
There
are several photo editing tools available. I use Picasa by Google to crop my
photos and muck around with border options. Once you have your photos set up,
print them out. Be sure the ink has dried thoroughly.
Trim
down any white edges and bits so that all you’re left with are your photo
squares. Lay out your tiles and lightly spray with the adhesive. Carefully
place your photos onto the tiles and press down, ensuring there are no bubbles.
Following the label instructions, coat the surface of the photos with the Modge
Podge. You may need to do more than one coat.
After
the tiles have dried, spray a thin coat of the sealant to the backs of the
tiles and allow to dry. Add the fuzzy feet to the bottoms of the tiles and turn
over. Lightly spray the tops of the coasters and allow to dry again.
Once
dry, smile and admire your handywork. Then pour yourself a glass of wine and
test run the coasters. To ensure quality, you may need more than one glass of
wine.
No comments:
Post a Comment